Setting Up the Project
Now that your store is up and running after FastStore Onboarding, you're ready to set up your development environment and create a unique storefront that reflects your brand. Let's get started!
In this guide, you will:
- Clone your store repository to your local machine.
- Run a local development server, usually at http://localhost:3000/ (opens in a new tab).
- Make your first change in your storefront.
Before you start
Required tooling
Before cloning your store's repository, ensure that you have the following tools on your machine:
Node.js
To run your FastStore project, you must have the latest Node.js version or a version higher than 15.0.0.
Yarn
We will use the yarn command-line interface to add functionalities to the store and also run tasks, such as starting a development server.
Install Yarn on macOS by running the following:
brew install yarnInstall Yarn on Windows by running the following:
npm install -g yarnGit
When developing your store's website, you will use Git (opens in a new tab) to push your code to the cloud. You will also use Git to download and install the required files for your project.
Visual Studio Code - Code Editor
When developing your store's website, you will need a code editor to write the code for your project, such as Visual Studio Code (a.k.a., VS Code). Visit the VS Code website, download and install the version appropriate to your operating system.
Although you might opt to use an alternative code editor, note that Visual Studio Code (opens in a new tab) might help you follow along with the FastStore documentation since our documentation may include screenshots from VS Code.
Enabling Developer Mode (Windows users)
We strongly recommend enabling Developer Mode when using the terminal for FastStore projects. Since FastStore projects rely on creating symlinks, this mode grants the necessary permissions and privileges, reducing the chance of errors during development. To activate Developer Mode, refer to Microsoft's official guide on Enabling your device for development (opens in a new tab).
Running the FastStore project as an Administrator is not recommended.
Step 1: Cloning the Store's Repository
- Open the terminal and navigate to the directory where you want to store your project.
For Windowns users we highly recommend to enable the Developer mode to run the terminal.
- Clone the repository created during the FastStore Onboarding by running the following command in the terminal:
git clone https://github.com/vtex-sites/{storeName}Replace {storeName} for your store's repository.
- Change into the working directory by running the following command:
cd {storeName}- Install all the dependencies listed within the
package.jsonfile by running the following command:
yarn install- Open up your FastStore project in any code editor of your choice.
Note that your store configuration was already set during the FastStore Onboarding. Therefore, there is no need to connect your project to your VTEX account.
If you want to review these configurations, you can access the faststore.config.js file in the root directory of your project's repository.
Step 2: Running a local server
Let's check what the project looks like in a web browser so far.
- Start a local development server to serve your website:
yarn devThis may take a few minutes. Once your development server is ready, the command line will output a similar message as the following:
  ready - started server on 0.0.0.0:3000, url: http://localhost:3000
event - compiled client and server successfully in 333 ms (951 modules)The dev command is part of the FastStore CLI, a pre-configured command line interface in your starter project. Using the CLI, this command enables you to execute code to keep your store's project up-to-date with the @faststore/core package.
- Now, open your favorite web browser and navigate to the localhost served, for example, http://localhost:3000 (opens in a new tab).

Congratulations! You have just created your very first FastStore store website! 🎉
While your local development server is running, you can preview any changes you make to your files, and saved changes will hot reload in the browser. To stop the development server, return to the terminal and press Ctrl + C. To restart it, run yarn dev again.
Step 3: Making the first change in your store frontend
Now that your store is up and running locally, let's make a simple change in the storefront.
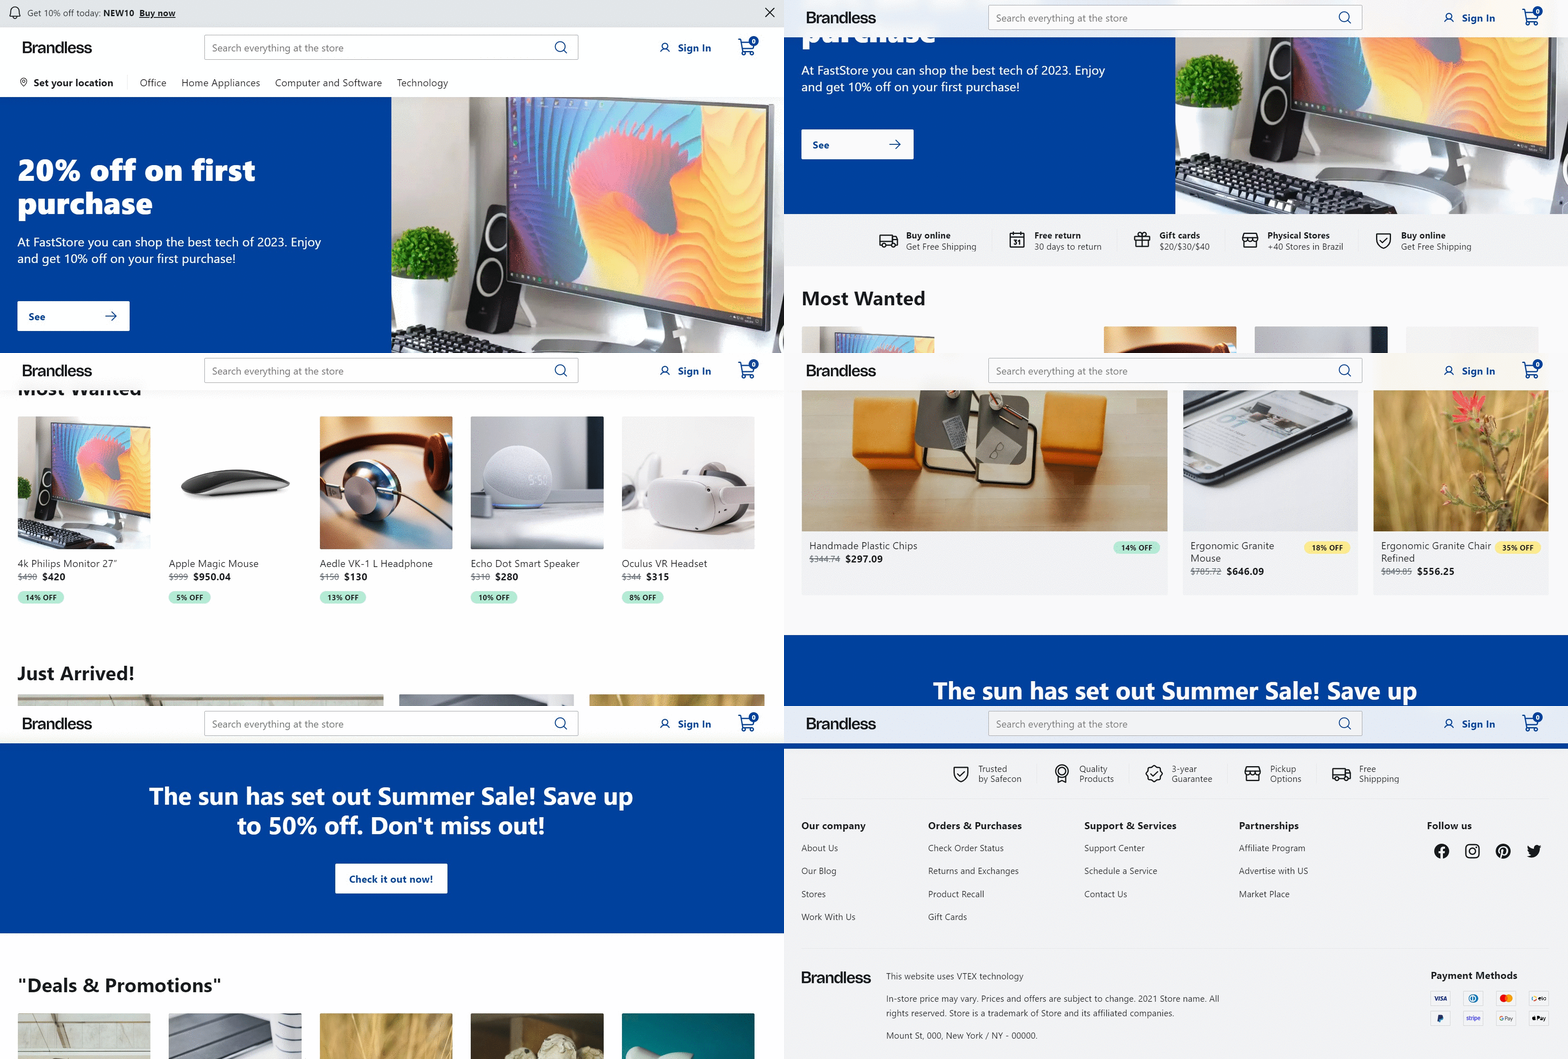
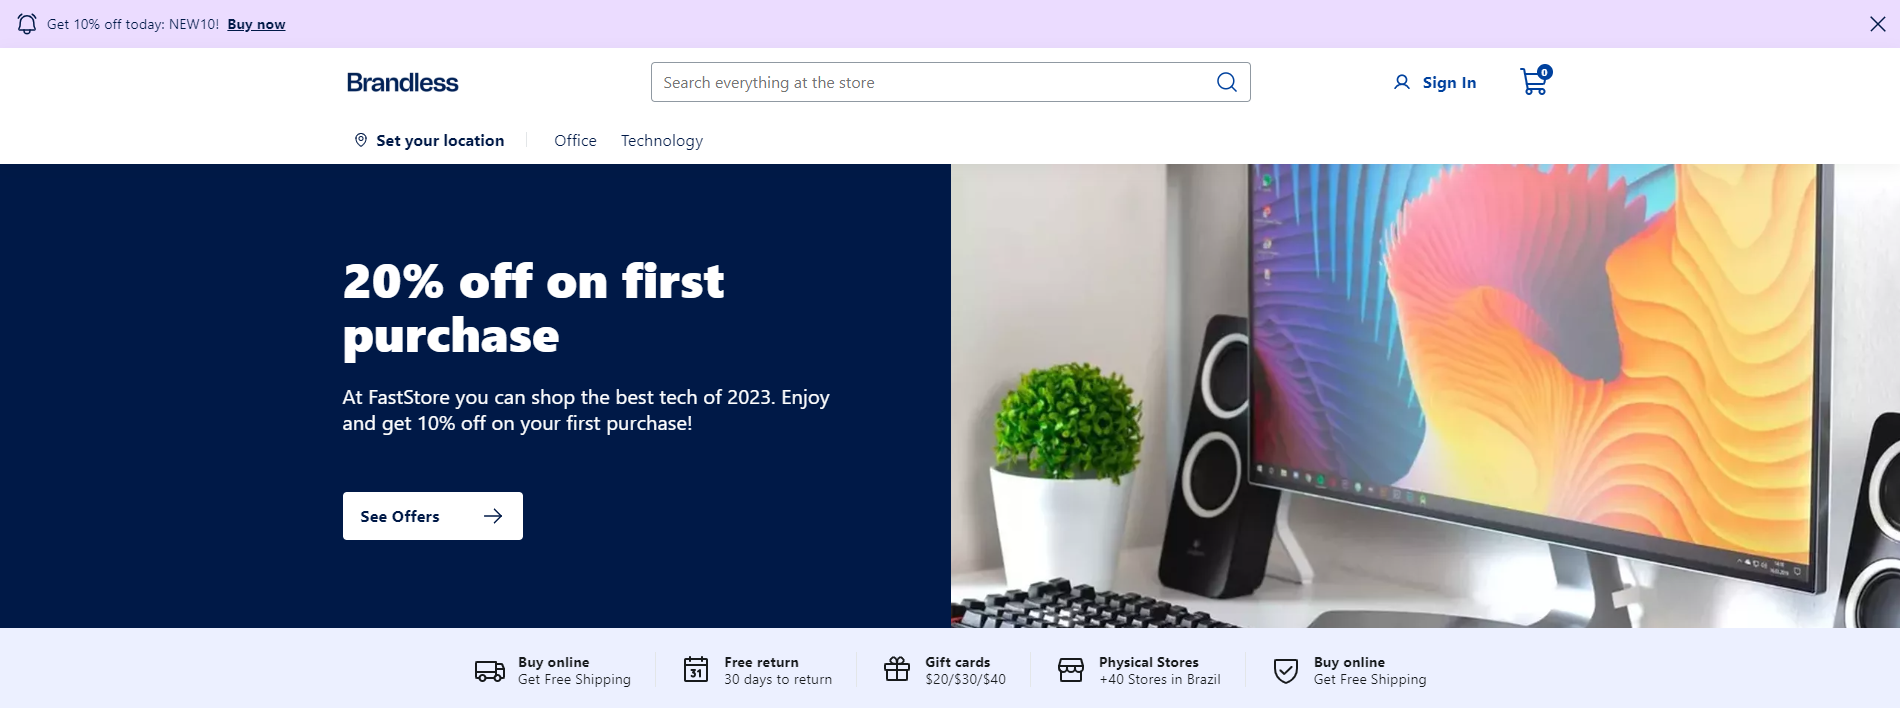
Let's make the first level of customization which updates the store's theme. For this customization, we are going to use the Soft Blue theme.
-
Create a new file named
soft-blue.scssinsrc/themes. This is going to be the new theme of your store. -
Add the following styles to
src/themes/soft-blue.scss:
// ----------------------------------------------------------
// GLOBAL TOKENS
// Theme Soft Blue
// ----------------------------------------------------------

@layer theme {
  .theme {
  // --------------------------------------------------------
  // Colors (Branding Core)
  // --------------------------------------------------------

  // PALETTE
  --fs-color-main-0: #ecf0ff;
  --fs-color-main-1: #d8e2ff;
  --fs-color-main-2: #00419e;
  --fs-color-main-3: #002c71;
  --fs-color-main-4: #001947;

  --fs-color-accent-0: #ebdcff;
  --fs-color-accent-1: #8d50fd;
  --fs-color-accent-2: #732fe2;
  --fs-color-accent-3: #5900c8;
  --fs-color-accent-4: #4700a0;

  // HIERARCHY
  --fs-color-primary-bkg: var(--fs-color-main-4);
  --fs-color-primary-bkg-active: var(--fs-color-main-2);
  --fs-color-primary-bkg-light: var(--fs-color-main-0);
  --fs-color-primary-bkg-light-active: var(--fs-color-main-1);

  // SITUATIONS
  --fs-color-success-bkg: #cee8de;
  --fs-color-warning-bkg: #f6e0ba;

  // COMPONENTS & STATES
  --fs-color-text-display: var(--fs-color-main-4);

  --fs-color-action-bkg: var(--fs-color-accent-3);
  --fs-color-action-bkg-hover: var(--fs-color-accent-2);
  --fs-color-action-bkg-active: var(--fs-color-accent-1);

  // --------------------------------------------------------
  // Typography (Branding Core)
  // --------------------------------------------------------

  // FACE
  --fs-text-face-body: 'Lato', -apple-system, system-ui, BlinkMacSystemFont, sans-serif;

  // --------------------------------------------------------
  // Refinements
  // --------------------------------------------------------

  // BORDERS
  --fs-border-radius: 0.25rem;

  // SHADOW
  --fs-shadow: none;
  --fs-shadow-darker: 0 0 10px rgb(0 0 0 / 20%);
  --fs-shadow-hover: 0 1px 4px rgb(0 0 0 / 10%), 0 6px 8px rgb(0 0 0 / 10%);

  // --------------------------------------------------------
  // FS UI Components
  // --------------------------------------------------------
  // Add here the customizations for FastStore UI components.

    --fs-logo-width: 8rem;

    [data-fs-product-card] {
      --fs-product-card-border-color: transparent;
      --fs-product-card-border-color-hover: var(--fs-border-color-light);

      &[data-fs-product-card-bordered='true'] {
        --fs-product-card-border-color: var(--fs-border-color-light);
      }
    }
  }
}
- Open the
faststore.config.jsfile and changes thethemefromcustom-themetosoft-blue.
theme: 'soft-blue',- Restart the server and check in the browser the new theme applied to your store. You may need to refresh the page.

It is important to highlight that the store's logo is set through the Headless CMS.